
Go-live checklist: Everything before launching
Before launching MirrorNex to your customers, run through this checklist to ensure everything is set up correctly.
✅ Setup Checklist
Installation
- ☐ MirrorNex is installed from the Shopify App Store
- ☐ You can access MirrorNex from your Shopify admin
Widget Placement
- ☐ Try-on button is added to your product page template
- ☐ Theme saved after turning on MirrorNex (the most common miss)
- ☐ Button is positioned in a visible, logical location
- ☐ Button appears on all relevant product templates
Size Charts
- ☐ Every clothing product has a size chart (check the Products view for gaps)
- ☐ The size guide opens on a product page on mobile
- ☐ Units switch correctly between cm and inches
Appearance
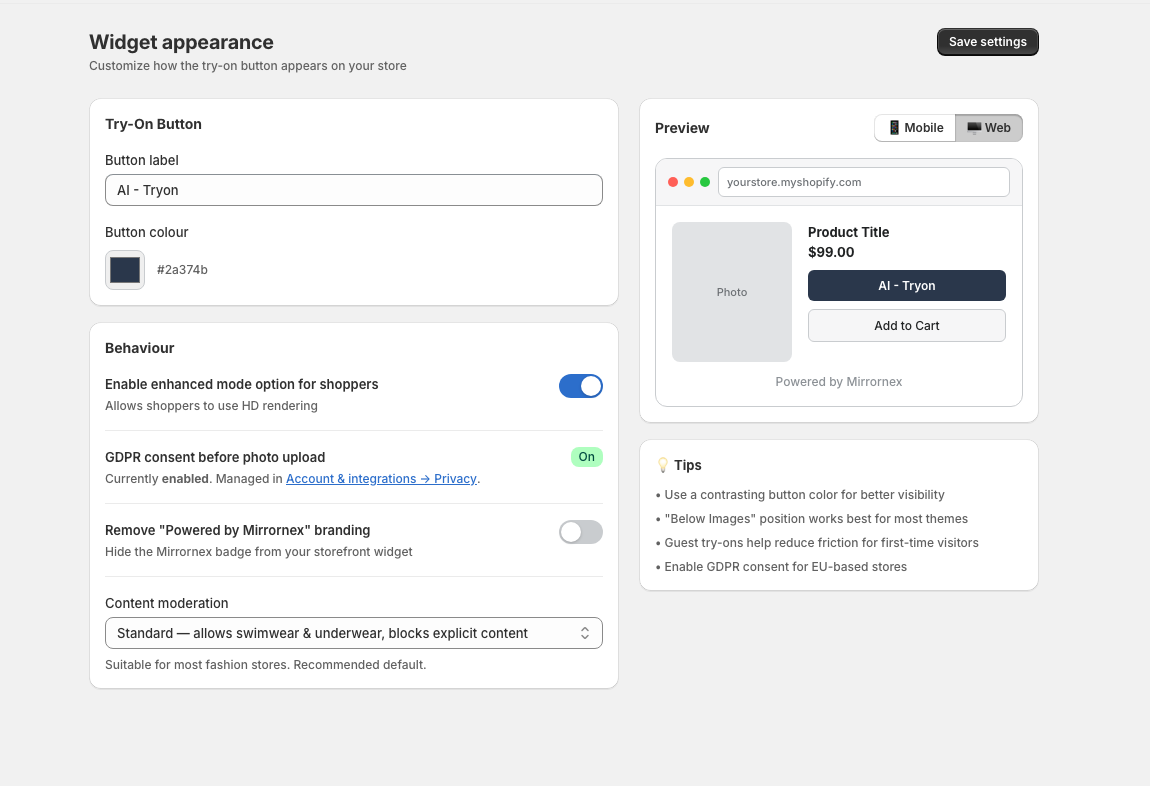
- ☐ Button colors match your store's branding
- ☐ Button text is appropriate ("Try On", "Virtual Fitting", etc.)
- ☐ Modal styling looks good with your theme
Products
- ☐ Try-on is enabled for appropriate products (clothing)
- ☐ Non-clothing products don't show the button
- ☐ Product images are high quality
Testing
- ☐ Tested try-on on desktop
- ☐ Tested try-on on mobile
- ☐ Verified result quality with different photos
- ☐ Checked loading speed is acceptable
Privacy & Consent
- ☐ Checked the consent step appears before upload
- ☐ Privacy policy mentions AI photo processing and size charts
- ☐ Understand how customer photos are handled
Billing
- ☐ You know what your plan includes and what an extra try-on costs
- ☐ You've chosen which products show try-on
- ☐ You've set try-on allowances for customer groups (Growth and above, optional)
🚀 You're ready to launch!
Congratulations! If you've checked everything above, your virtual try-on and size charts are ready for customers. Start driving traffic to your product pages.
Post-launch tips
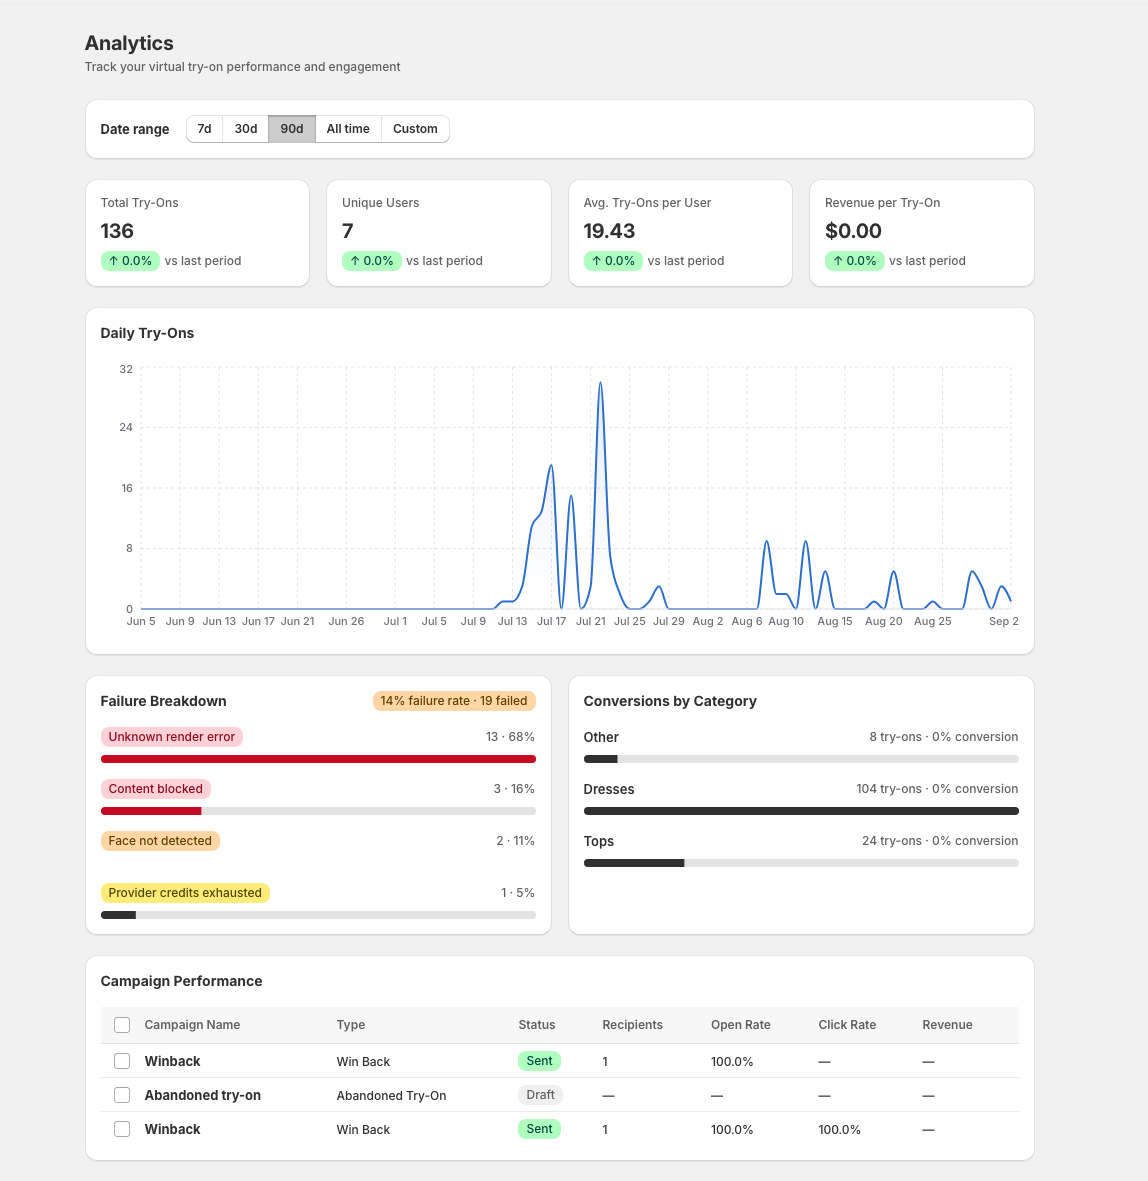
- Monitor analytics — Check your MirrorNex dashboard to see try-on usage and conversion impact
- Gather feedback — Ask customers what they think of the try-on feature
- Promote it — Mention virtual try-on in your marketing and product descriptions
- Watch usage — Keep an eye on try-on counts to manage costs
Need help?
If anything isn't working or you have questions:
- Check our Troubleshooting guide
- Email us at support@mirrornex.io
- We reply to every message within one business day