
How to test the try-on experience on your store
Before going live, test the try-on experience to make sure everything works perfectly for your customers.
Testing Steps
Open your store's product page
Go to your online store and navigate to a product page where you've added the try-on button.
Click the try-on button
You should see the MirrorNex try-on button. Click it to open the try-on modal.
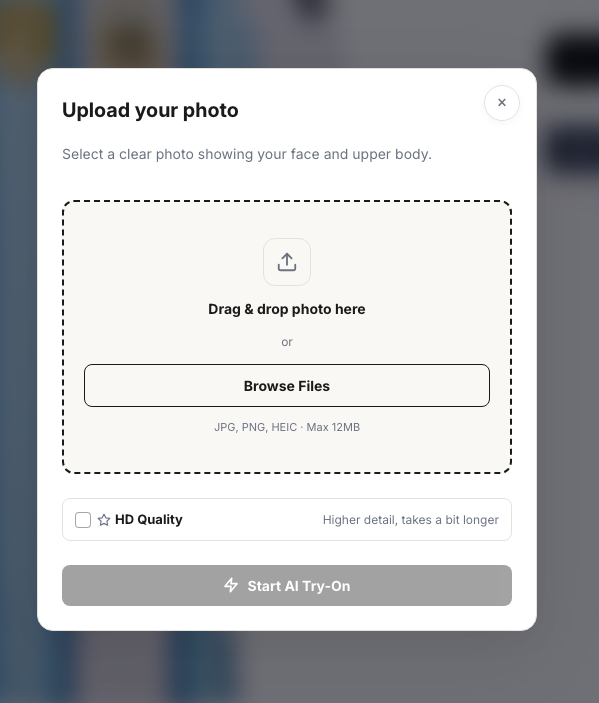
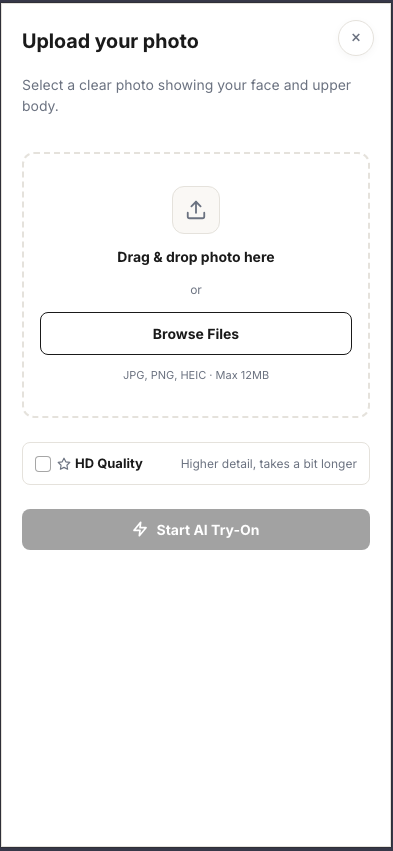
Upload a test photo
Upload a photo of yourself. Face and upper body is enough.
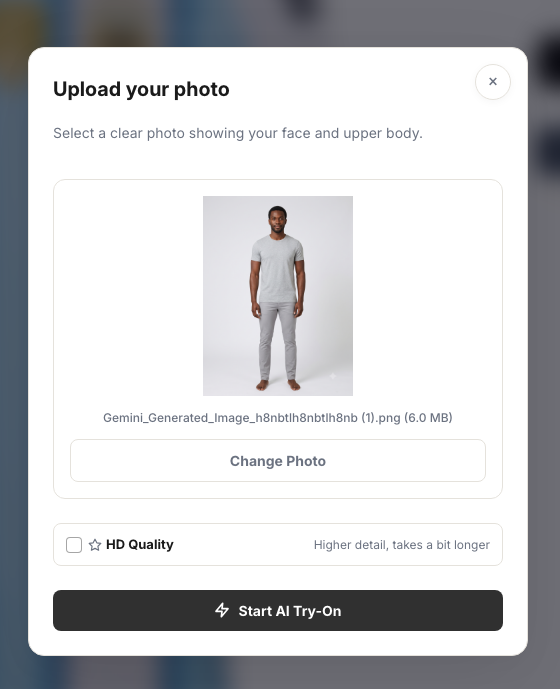
Wait for the result
The AI will process the image and show you the virtual try-on result. This takes about 30 seconds.
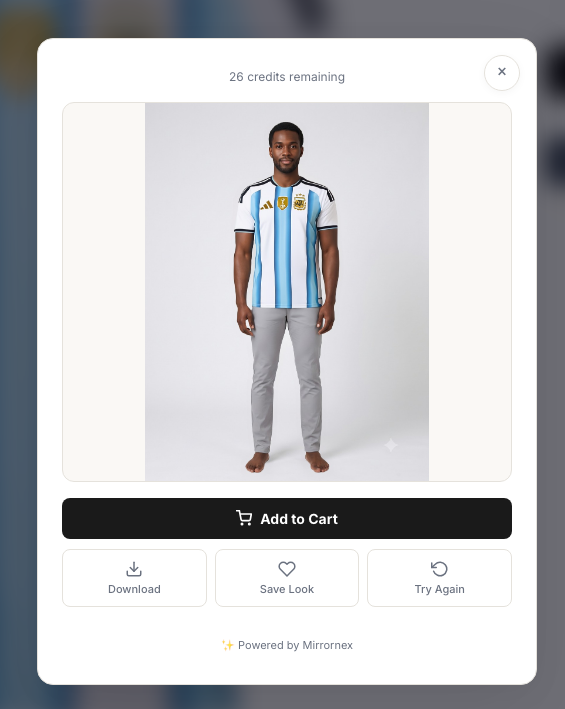
Check the result quality
Verify that the garment looks natural on the photo — proper fit, lighting, and realistic draping.
What to check
- Button visibility — Is the button easy to find on the product page?
- Modal appearance — Does the try-on modal match your store's branding?
- Size guide link — Does it open the right chart for this product?
- Upload experience — Can you easily upload from camera or photo library on mobile?
- Result quality — Does the garment look realistic?
Mobile Experience
Here's how the try-on experience should look on mobile:
Testing on a password-protected store
If your store is password-protected or in development:
- MirrorNex works on password-protected stores
- You can test using the theme preview mode
- All features work the same as on a live store
Troubleshooting test issues
If something doesn't work during testing:
- Button not showing? — Check that you've added the block and saved your theme
- Try-on failing? — Check the troubleshooting guide
- Poor results? — Try with a clearer, well-lit photo
Next Steps
Once testing is complete: